Tuesday, April 30, 2013

Regrow Green Onions Tutorial

Have you seen the Pinterest posts about regrowing green onions and celery?
I decided to give it a try.  I went to the market this morning to buy both veggies, but to my dismay they did not have celery. How does a fresh foods market not have celery? Oh well..

So how does one regrow green onions from store bought onions? It's super easy. Cut the green parts off, put the white parts & roots in a cup, jar, or bowl of water, put in a sunny place and watch it grow.


There you have it. It's that simple. And, the coolest part is two hours after this photo I noticed that the onions had already started to grow!
See the taller green parts in the middle? Those are new! Neat huh?
Give it a try, you can regrow celery and lettuce bases, too. Not only is it one step closer to self sufficiency, it saves money, too
-----------------------------------------------------------

Don't forget to enter my giveaway for Ad Space. There will be 4 winners!

Monday, April 29, 2013

Earth Week Day 1: Buy Vintage

Spring is here.  The days are turning longer, the birds are singing earlier, the sun is getting warmer, and the sky a bit bluer.  Spring represents renewal.  A lot of people strive to do something productive in spring, whether it be a renewal of your home, your yard, your life, or yourself.
This spring I am striving to renew my lifestyle and home all while doing my part to stay green.  This week I am going to focus my blog on recycling, reusing, and renewing starting with fresh, vintage decorations for the home.
 If you're looking for some new items for your home, try buying vintage.

Upsides of Buying Vintage/Used:
- Great way to reuse and recycle
- Helps the environment by lessening the number of plant/factory produced products
- You save money!  Buying used usually comes with a price markdown.
- Many thrift and vintage shops offer gorgeous vintage designer pieces at a great price, so take advantage and sharpen your style and the look of your home.
 
 Where can you buy beautiful Vintage Home Pieces?
Well, you can start here:


 photo il_570xN406337841_ccjp.jpg photo il_570xN396749089_6s1z.jpg  photo il_570xN452326488_dbr0.jpg
Susana is the owner of this vintage shop that houses lovely home decor pieces, housewares, and collectibles, amongst many other things.

Right now she has two gorgeous complimenting floral porcelain plates and vase for the kitchen/home that I am obsessed with.  They would fit perfectly in any bright and cozy home and make for a wonderfully unique gift.

 photo il_570xN406344212_7buq.jpg photo il_570xN406345162_9av4.jpg  photo il_570xN406338866_qscg.jpg 

As I said earlier, Susana also offers unique decor items and collectibles that will add a fun personalized touch to any home.  Vintage pieces bring a bit of quirkiness to anywhere they are kept so why buy new when you can help the environment and have a unique home?

 photo il_570xN442949011_lm9y.jpg  photo il_570xN366571068_qvpy.jpg  photo il_570xN396527208_qy01.jpg
 Thank you to Susana for letting me kick off my Earth Week with her beautiful shop
 -----------------------------------------------------------

This week:
Tuesday:  Tutorial -- Regrow Celery & Green Onions in your kitchen
Wednesday:  Small GREEN Business Showcase
Monday:  Giveaway Winners
 -----------------------------------------------------------

Just a few more days left in my Ad Space Giveaway!
If you win you may advertise your Blog, Etsy Shop, ShopEnvy Store, Website, etc.

Tuesday, April 23, 2013

Starting Back Up//Ad Space Giveaway

I dropped off the face of the earth while things were going downhill with my grandmother. I am not complaining, though; I loved the time I got to spend with her. I did, however, neglect my blog and my Etsy Shop.  In order to bring back all of my wonderful readers and followers I am holding a giveaway for some Ad Space for the month of May, in place of Tutorial Tuesday.

A lot will be happening in the upcoming weeks with my blog, including a 2 week long recycling/reusing thoughts, ideas, features, and tutorials honoring Earth Week (my continuation of Earth Day) and spring.

If you'd like to be part of my "renewal" and blog growth then go ahead and enter my giveaway.
You can see all of my growing stats here.

I promote all of my sponsors in blog posts and throughout various social media outlets mentioned on the Rafflecopter form. 

--------------------------------------------
Here's a gorgeous treasury featuring some wonderful & unique small businesses on Etsy

'Turqoise passion' by MUSTERLADEN


Mint Fish decorativ...
$14.9

Purple paisley, Pol...
$17

decorative pillow c...
$37

Lifestyle Necklace ...
$22

Vegan Vanilla Chai ...
$5.5

Hawaiian Breeze Sce...
$4

2 Alfama Paper Stri...
$13

Lightweight Matisse...
$22

Funny Let's Hit...
$2.5

Baby blanket, Blue ...
$35

Personalised Honeym...
$29.99

I want to ride my b...
$10

45x45cm Square Cute...
$16

Linen Yarn, set of...
$21

Children Room Lette...
$49

bird silhouette in...
$45


Thursday, April 18, 2013

I Love You Always

I am so sorry for my absence these past 2 weeks.
I had to rush to Waverly, Georgia to spend some much needed time with my grandmother, or Megaw as we all call her (I was the first grandchild and instead of grandma I said Megaw).  She has been fighting bone and stomach cancer and is nearing the end.  I feel blessed to have made it in time and I wouldn't change the time I just spent with her or all of the years I was able to love her and be loved by her.  I'm beginning to tear up as I type this.. I am going to miss her so so much.  She is 68 years young, her birthday is on May 1st.
She sent me home with a lot of boxes of crystal, old photos, her high school yearbooks, things my great grandparents had given her, and things I had given her.  Growing up her home was always filled with art, not the kind you can buy from a store but the kind that I, my sister, and my cousins drew.  She saved every single picture we made for her, even little scribbles we drew when we were toddlers.  She saved everything and no one knew that until this week.  Megaw loved us all so much; I hope that I can love as much as she has and does.
I love you always.

---------------------------------------

Tuesday, April 2, 2013

Make Your Own Organic Lotion Bar Tutorial

The beginning of spring in Cleveland is always so odd. It snows most days yet always melts, but it's still freezing.  This weather messes me up, it really does.  I own a bath and skin care business and a few of my products (Lotion &  Massage Bars) don't do well in hot weather. April is when I start to worry about shipping my lotions, especially if they are going to the south. They'll get all melt-y and soft when sitting in a hotbox aka mailbox, yet I get tons of interest in buying them in summertime.
Since I'm too nervous about shipping them to the south, I'm going to share my recipe with you all instead.

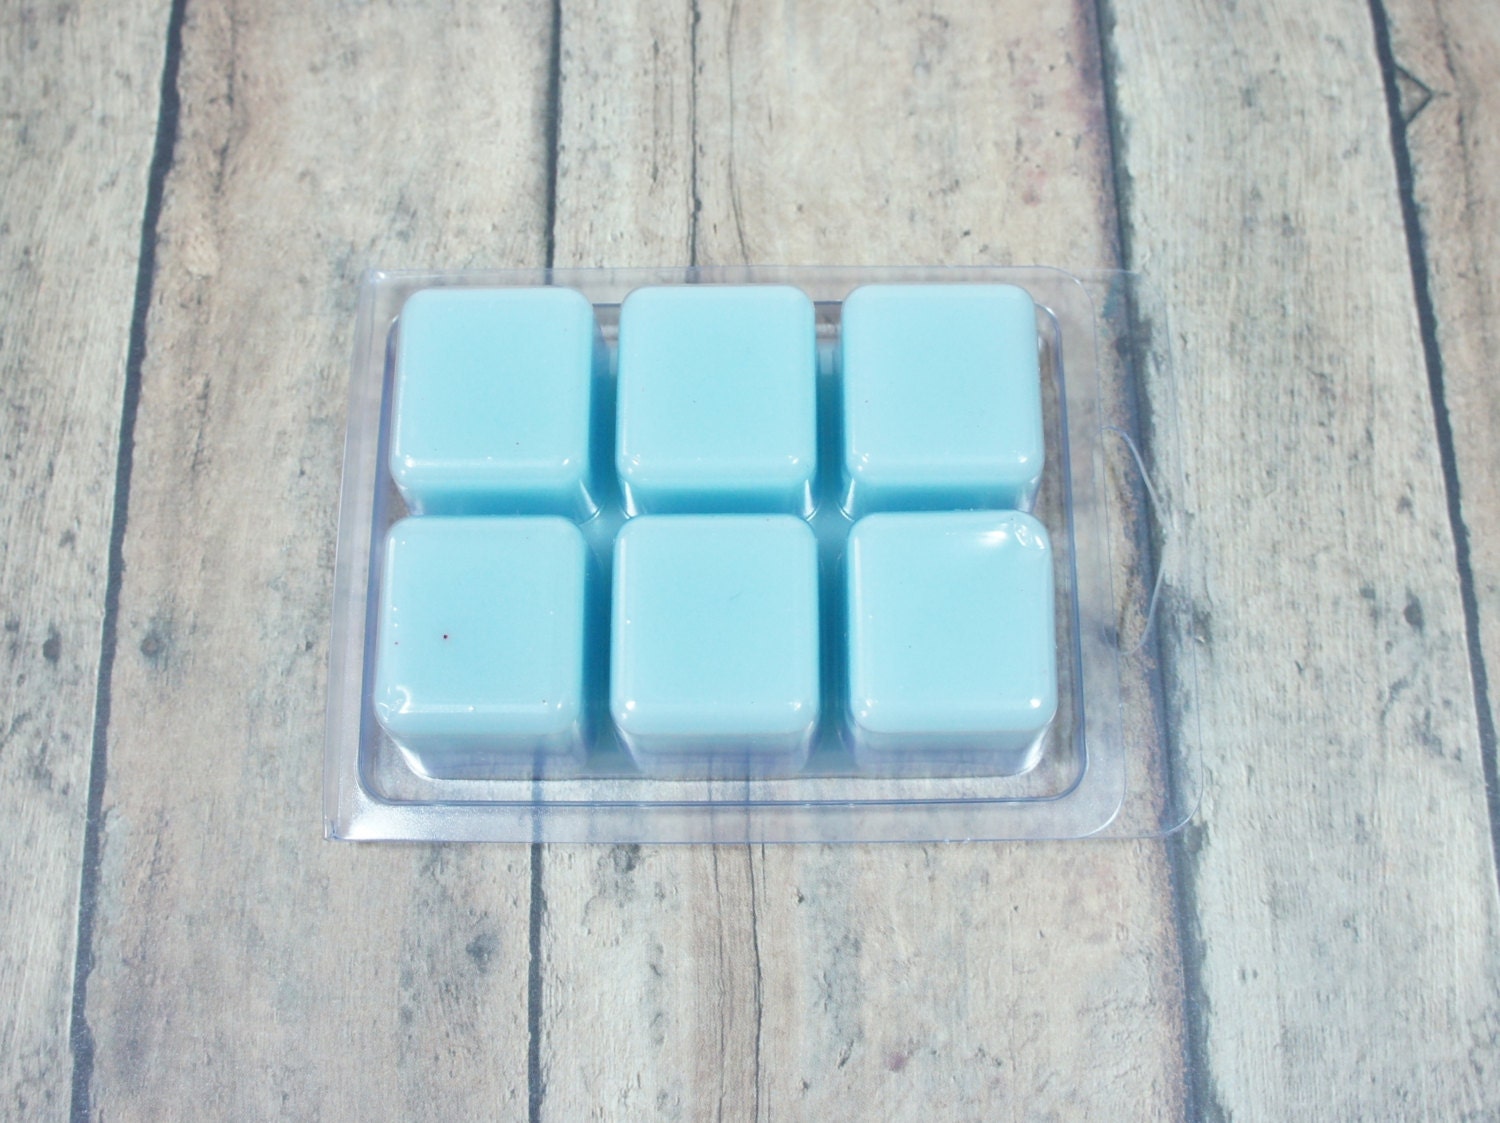
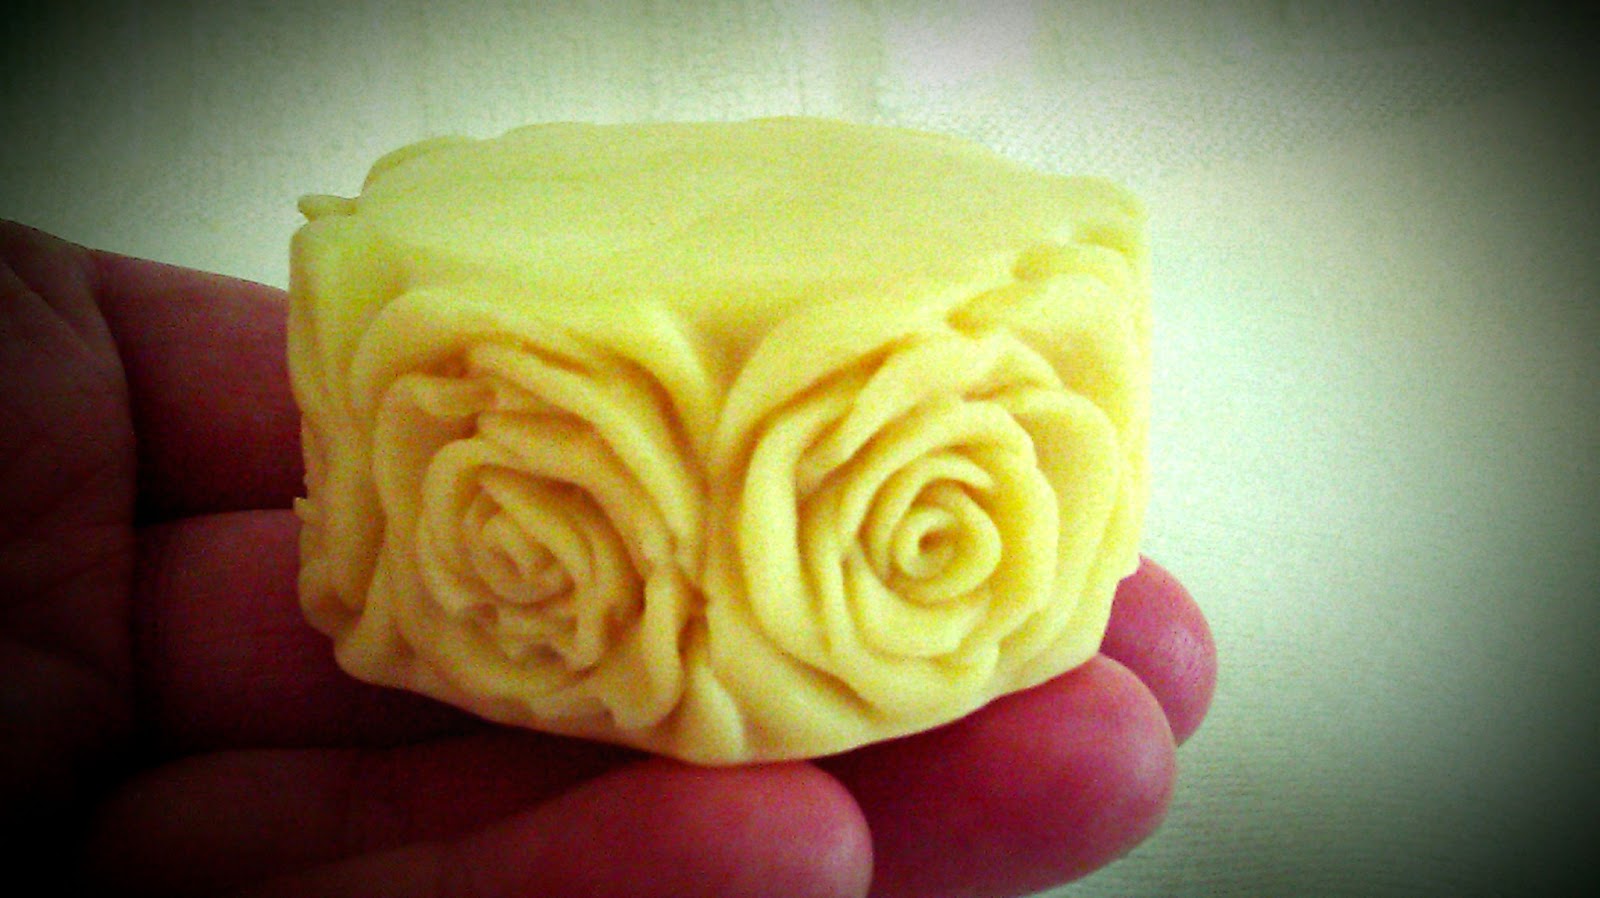
Recipe is for a 2.2 ounce Natural Golden Honey Cocoa Lotion Bar 
I always end up with a little extra, I'll tell you what to do with that extra bit at the end of the post.

Ingredients:

 Measure out 2 TB or 1oz of beeswax and place it in your pyrex or double boiler.  Beeswax takes longer to melt than the butter.  Therefore, melt the Beeswax for about 30-40 seconds before putting in the 2 TB or 1oz of Cocoa Butter.  I love Cocoa Butter so I usually add a few extra pieces of cocoa depending on how prevalent the cocoa scent is, it's all to your taste so add extra if you'd like it to smell a bit stronger.
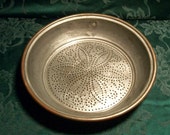
If you are using a microwave for this melt the Beeswax and Cocoa Butter in 30 second spurts, this decreases the risk of "burning" or over-cooking the mixture.  Once your mix looks like the photo above then it's time to add your carrier oil. I'm using Grapeseed for this bar.

Start off with 1 TB of the Carrier Oil. When you pour the carrier oil in, you will see it start to harden. Do not put it back in the microwave or over the hot boiler, just stir it. After you stir it, there will be a small amount of hardened lotion on your knife, spoon, or stir stick.  Put that little bit on your fingers and rub it in, if it feels too waxy then add another Half TB of Carrier Oil, stir, try again. You can add up to 2 whole Tablespoons of Carrier Oil to your lotion mixture (if you add too much it will be too soft.)


 Get your silicone mold (you can use any size and shape) and slowly pour the lotion mixture into it.  If you pour too quickly air bubbles will form on the bottom and sides of the mold.

 Cover your lotion so that hair and fuzz can't get to it and let it sit for 1-2 hours, depending on the size of the mold. If you find that after 2 hours your lotion isn't hard enough then you may need to melt it again and add up to 1 teaspoon of beeswax to help it harden.
When you're all done you might have extra lotion left in the pyrex of double boiler, if that's the case then just let it harden and pop it out with your fingers or a knife. It will be your little 'black sheep' lotion bar

You can use this same recipe but with White Cocoa & Shea Butter and Essential Oils.
If you use Cocoa and Shea Butter use 1 part Cocoa, 3 parts Shea, and 1-1.5 TB of Carrier Oil.
 ----------------------------------------------------
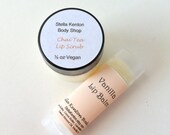
 If you'd like to see which lotions I have left for April, go here.
I'm thinking of turning all Tuesdays into Tutorial Tuesdays! What do you think?